
Search results for: 🙂 Is Ivermectin Safe For Children 🔰 www.Ivermectin4Sale.com 🔰 Can You Give Dogs Ivermectin 😄 Ivermectin Dosage For Dogs Intestinal Parasites , Cost-effectiveness Of Ivermectin
Today, professional sports is one of the largest industries. One game, one team, one player, one moment can have millions of dollars on the line. Those moments are moments of uncertainty. Can we ever know what is going to happen in the future? Can we know which player to draft, which one will consistently perform?
Read MoreHow-To: A Simple Way to 3D Scan an Environment
May 27, 2020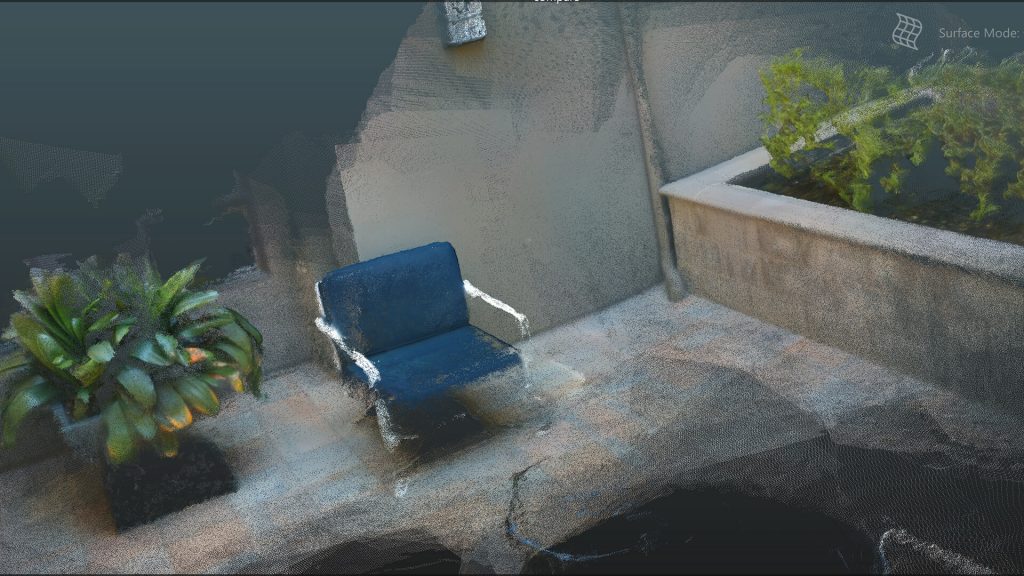
In this How-To, we are going to share a simple way to 3D scan an environment that you can then visit and share with friends and family. This process will involve multiple steps and pieces of software, but should be relatively easy to follow. What you will need: Intel® RealSense™ Depth Camera D415, D435, D435i…
Read MoreBeginner’s guide to depth (Updated)
July 15, 2019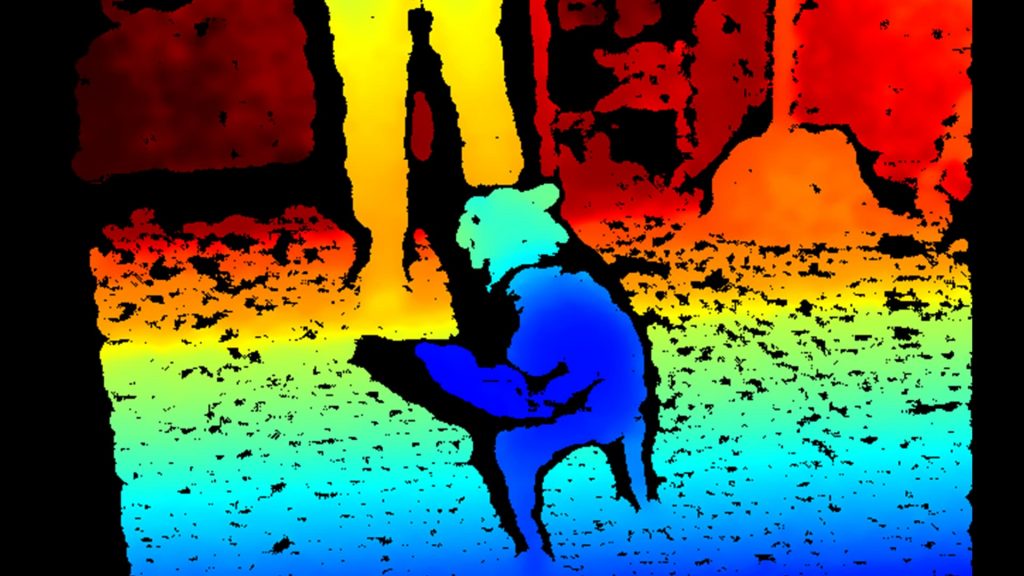
We talk a lot about depth technologies on the Intel® RealSense™ blog, for what should be fairly obvious reasons, but often with the assumption that the readers here know what depth cameras are, understand some of the differences between types, or have some idea of what it’s possible to do with a depth camera. This…
Read MoreComputer vision in Robotics : Autonomous Mobile Robots, Robotic Arms and articulated robots, Humanoid robots and more
July 28, 2021Computer vision in robotics Download A revolution in how robots see the world. Lightweight, low power and easy‑to‑use depth cameras that give robots the ability to navigate landscapes, avoid obstacles and recognize objects, people and more. The world of computer vision in robotics comes into focus. Image Scroll When robots can see, measure, analyze, and respond to their environment, a whole new world of possibilities…
Read MoreCase study: Visual-Inertial Tracking
February 22, 2019Intel RealSense Tracking Camera T265 Buy Case study Robust Visual-Inertial Tracking from a Camera that Knows Where it’s Going The Intel® RealSense™ Tracking Camera T265, powered by the Intel® Movidius™ Myriad™ 2 vision processing unit (VPU), delivers 6DoF, inside‑out tracking for highly accurate, GPS-independent guidance and navigation for robots and other mobility‑focused implementations. Gartner identifies “autonomous things” as Trend Number 1…
Read MoreHow robotics is the next big thing
April 15, 2020
In a rapidly changing world, it’s hard to predict where technology will gain traction in different markets and when. It’s worth taking a look at those areas of robotics and automation that are likely to grow in the next few years, in part due to increased demand but also the increasing advances in robotics capabilities.…
Read More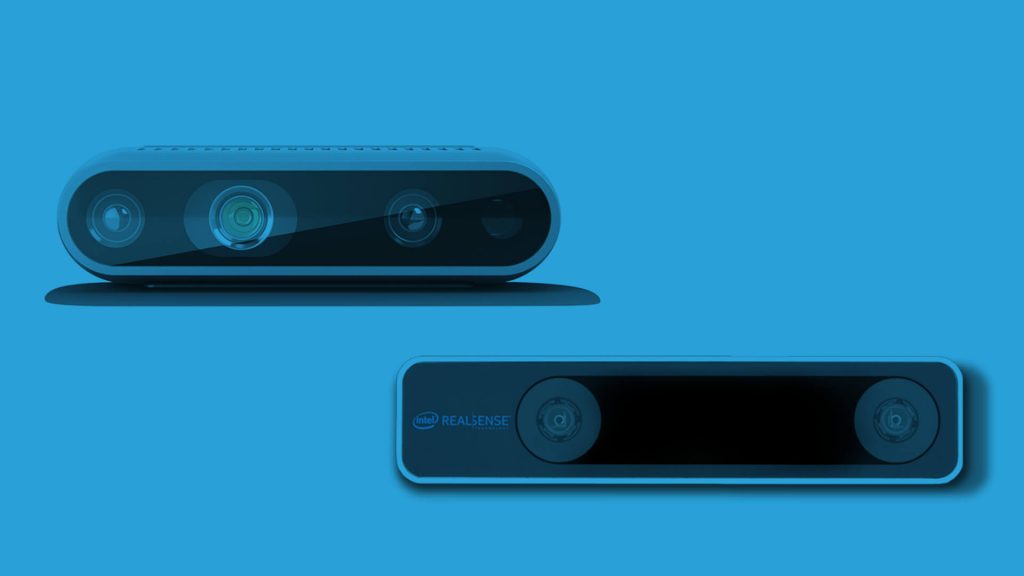
While many people are familiar with Intel® RealSense™ technology as a producer of high-quality depth cameras, the introduction of the Intel® RealSense™ Tracking Camera T265 has created a lot of questions about the difference between our tracking and depth solutions, and the applications for both. With a long history of leadership in the depth camera…
Read More