
Get Started with Intel RealSense ID
Congratulations! Now that you’ve got your Intel® RealSense™ ID device, start using it by following these simple steps.
What’s in the box?


Connecting Intel RealSense ID

Using the provided USB 2 Type C cable, connect the peripheral to your PC or host device.
Acquire your Software License
Purchase your Intel RealSense ID Anti-spoofing software or Intel RealSense ID Facial Authentication software license through an Authorized Distributor or at the Intel RealSense Store.
Once you have successfully purchased your software license, you will receive a confirmation email with your software entitlement from the Intel Registration Center.
Register your Software License
To access your software license and register your product key, please sign in to Intel Registration Center (IRC). If you do not already have an Intel account, please use Sign Up to create an account. To register a product key:
- Sign in to IRC
- Enter the product key in the box in the upper left corner under Entitlements
- Click the Register button
After registration, you will receive a registration confirmation email with instructions on how to activate your product key.
Please refer to the IRC FAQ for questions related to registration of your software product key.
Activate your License
To activate your product key:
- Sign in to Intel Registration Center (IRC)
- Under Entitlements, find your product key in the list
- Expand the row by clicking the down arrow to the left of your product key
- Click the Activate License button
- Locate your 28-character serial number (Locating Serial Number Instructions). Most serial numbers look like: XXXXXXXXXXXX99A27FM10464-100
- Next to Fingerprint Locking Code, enter the first 6 digits of your device serial number
- Next to Fingerprint User-Friendly Name field, enter the Device Serial Number. Remember, this must be exactly 28 characters long, including the dash (-).
- Click Activate
By activating the software license, you are agreeing to the Terms and Conditions of the End-User License Agreement.
Please refer to the IRC FAQ for questions related to activation of your software product key.
Get the latest Intel RealSense ID SDK
The Intel RealSense ID SDK includes the Intel RealSense ID API, documentation, viewer application, and useful tools, as well as code samples for Windows and Linux.
It can be found on the Intel RealSense GitHub page.
Download the source code or check out our repo. Follow the build instructions to build our host library and tools.
Setting the Product Key
Once you activate your license, you need to set up the product key on your host machine. Follow the Setting Product Key steps described in our Intel RealSense GitHub page to set up your license.
Windows
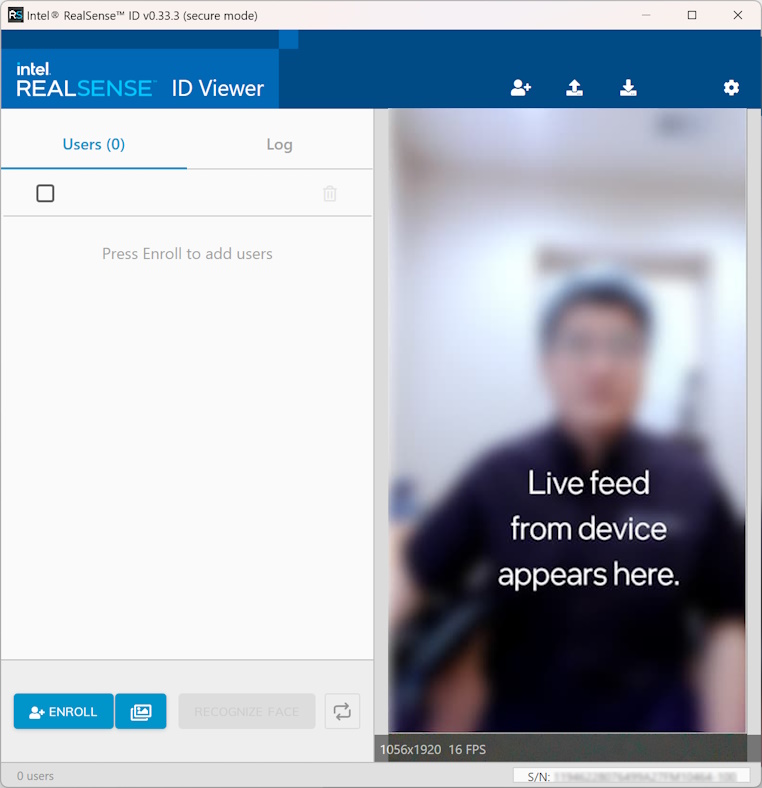
Using the Intel RealSense ID Viewer software
The viewer software is designed to allow you to quickly test and evaluate a variety of features of your new Intel RealSense ID device.
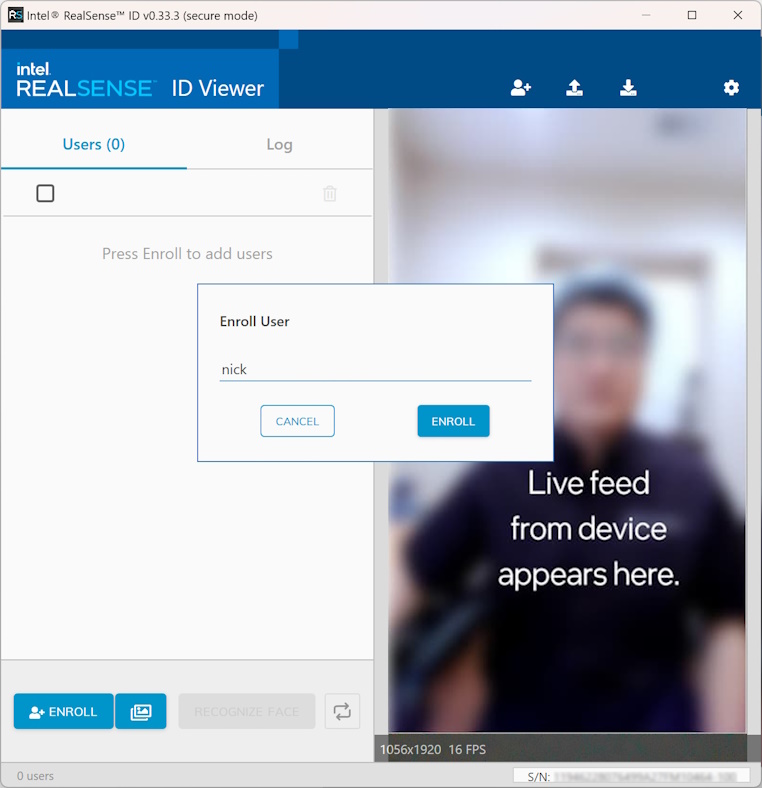
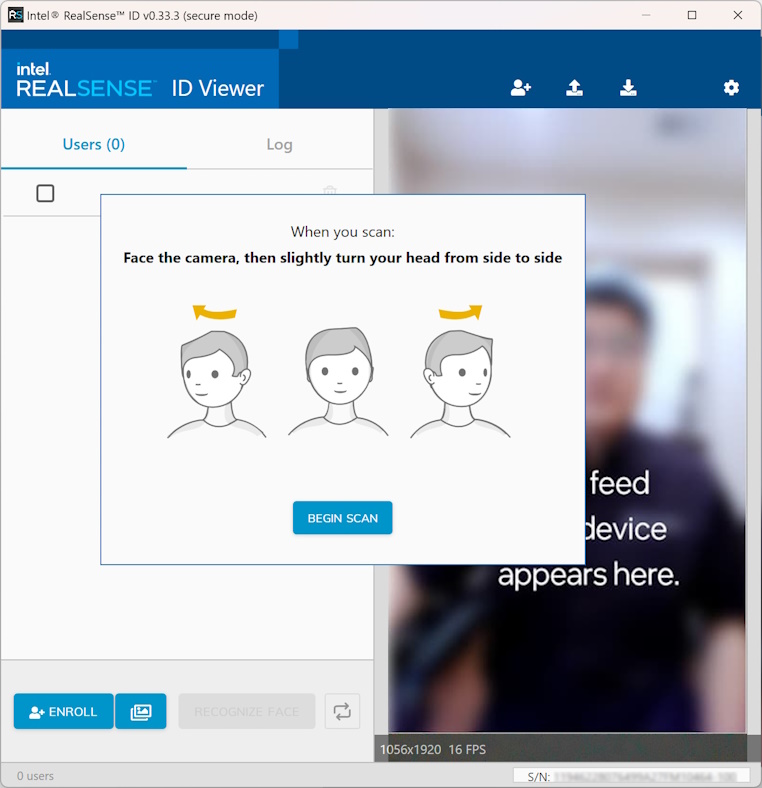
Enroll a new user
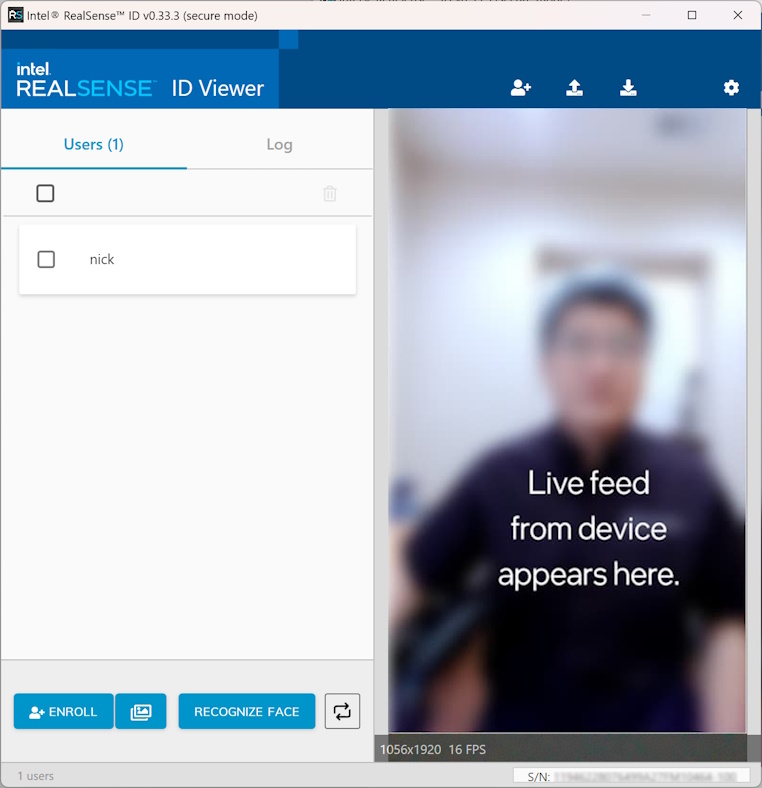
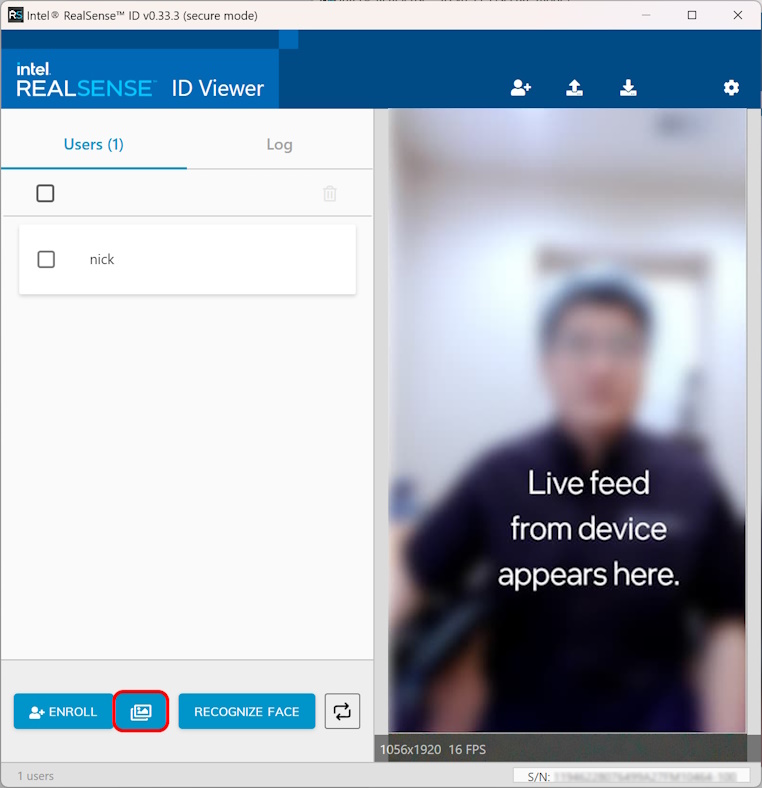
Authentication
Once you have enrolled, you can test authentication
Select Authenticate to authenticate you once. With the repeat button (double arrows next to Authenticate), the system will continuously attempt to authenticate you until you select Stop.

Deleting a user
Delete users by selecting the checkboxes next to their names, and then select the trash icon to delete them. This action cannot be undone – any users accidentally deleted must be re-enrolled. The top checkbox can be used to delete all enrolled users.

Settings
There are a number of configurable settings that allow you to customize the operation of your F450/F455.
Using the gear icon in the top right corner will open Settings.

Face Selection – If Single is selected, the device will return results only for one face, which is the best candidate found. When Multi is selected, the device will return results for all the faces detected in the frame. This is a small latency and power impact when running Multi as the pipeline is run on all the faces in the image.
Host Mode – By default, the user database information is saved on the F450/F455 device. By selecting Enabled, the user database information can be saved in another location.
Preview Format – Select which format to show for previews.
Dump Mode – Enabled turns on frame dumps but disables live preview. Frame dumps are located in a subfolder called dumps.
Security Level – This setting enables the ability to test an operating mode that supports partially covered faces (e.g. due to face masks). Medium confidence will allow authentication with greater tolerance, where High confidence might reject partially covered faces in some situations.
Operation Mode – This setting allows you to choose what features you wish to enable on the device.
- All runs all functionality for facial authentication including facial recognition and anti-spoofing of enrolled users. This mode offers the highest level of facial authentication.
- Detect runs only facial detection, not anti-spoofing, facial authentication, or facial recognition, regardless of whether or not the person is an enrolled user.
- Spoof runs anti-spoofing only, a method that distinguishes between genuine and fake faces.
- Recog runs facial recognition of enrolled users without anti-spoofing. This is not as secure as facial authentication that is performed in the All operation mode.
Camera Rotation – In situations where the camera needs to be rotated (for example, mounted upside down to conform to a specific industrial design), the operational mode should be set to visually correct the rotation.
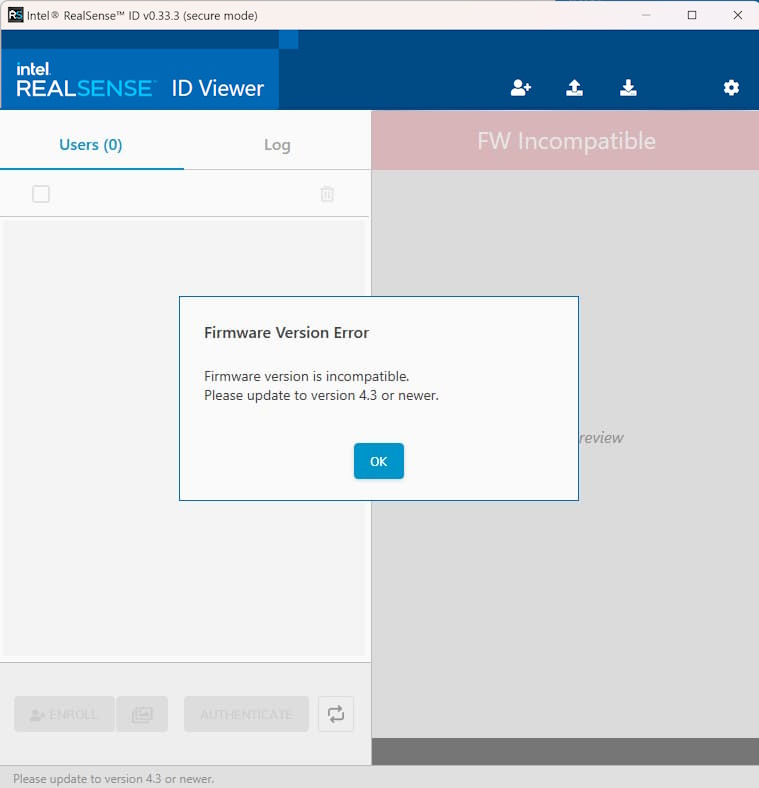
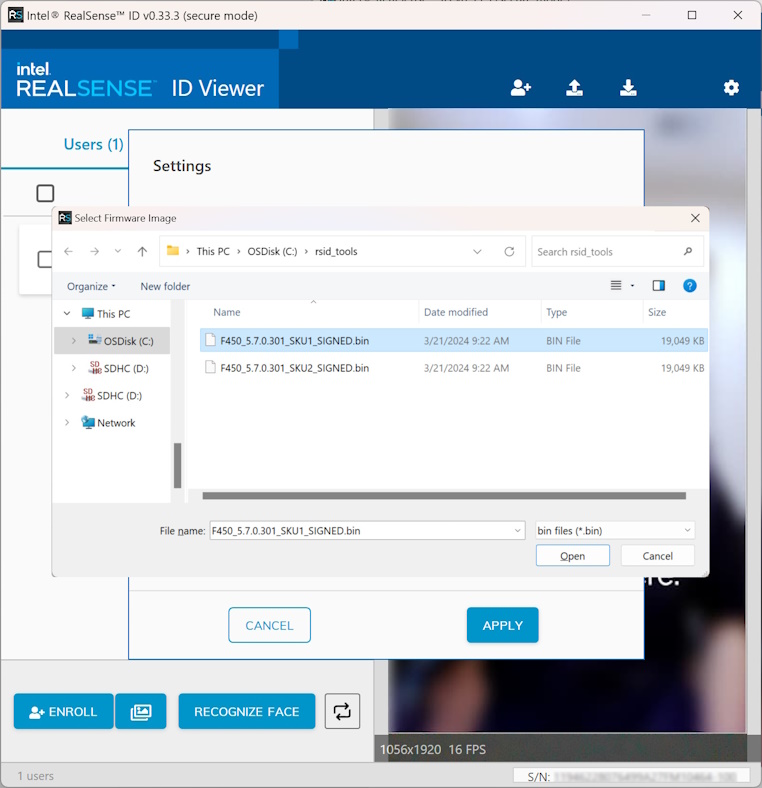
Firmware Update – Selecting Browse will enable updating the firmware on the connected device as described in the following section.
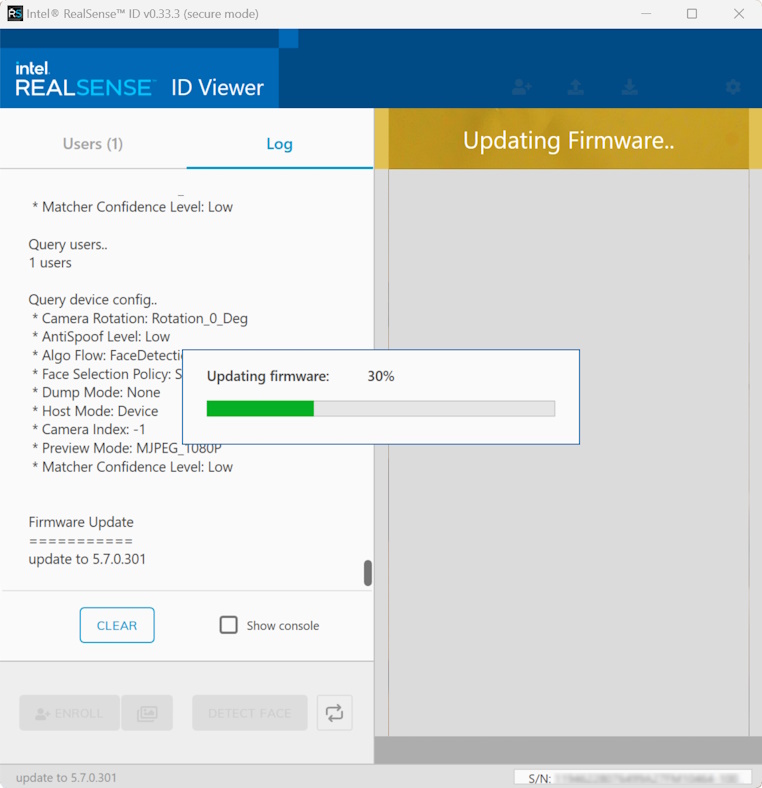
Updating Firmware
You can download the latest firmware here.
F45x devices running firmware 5.7.0.301 or newer require a license for facial recognition and spoofing features to work.
Documentation
We have created a documentation portal to help you get started. For additional information please refer to the Intel® RealSense™ ID Solution documentation page.
Receive updates about the latest news on facial authentication solutions.